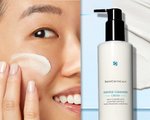
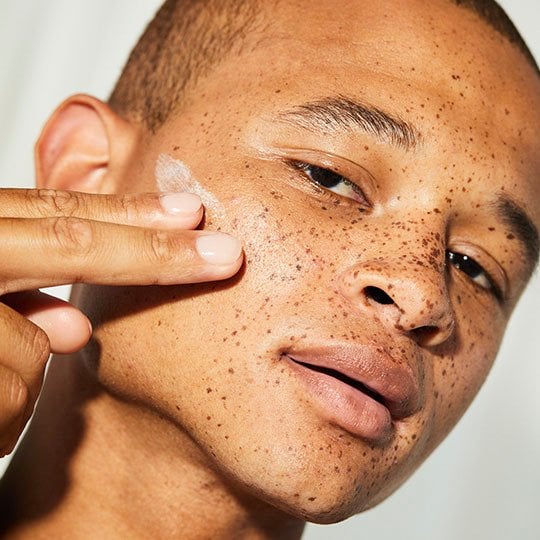
Applying winged eyeliner can go either one of two ways. You’re either a pro—read: eyeliner wizard—and can apply your liner with little-to-no effort (we wish!) or you’re not. For those of us who don’t moonlight as MUAs on the down low, we often spend 20 plus minutes in front of the vanity, struggling just to apply the gel, cream, or liquid ink in what could pass as a straight line. We certainly can’t be bothered to try and turn the edges into a gorgeous-looking wing—seriously, do they teach this stuff in art school? This process can often lead to immense frustration and ultimately, removal—or, worse: tears (been there, done that). That being said, there’s no reason to cry over a messy cat-eye—especially when beginner level tutorials (like this one) exist to help you master winged liner. Keep reading for a simple—read: foolproof—way to achieve a perfect-looking cat-eye, using one of our favorite marula oil-infused eyeliners from The Body Shop. WHAT TO USE: THE BODY SHOP SMOKY 2-IN-1 GEL EYELINER AND BROW DEFINER If you’re looking for the best skin care-inspired eyeliner, look no further than The Body Shop’s Smoky 2-In-1 Gel Eyeliner and Brow Definer. Formulated with the brand’s Community Trade marula oil, this creamy gel eyeliner (and brow cream!) comes in both a rich brown and a hematite black shade for an intense and striking finish. What’s more? This skin care-inspired beauty product is long-lasting and can be used for a variety of different eyeliner looks—not just a winged line. The Body Shop Smoky 2-In-1 Gel Eyeliner and Brow Definer, $13.50 MSRP Now that we’ve sorted out what to use, let’s discuss how to get the perfect winged line. STEP ONE: PREP YOUR LIDS Whether you plan to rock eyeshadow with your cat-eye or not, the first step in creating a perfect-looking winged liner is prep! We recommend dabbing on a nude eyeshadow primer—like this one from Urban Decay—and then following up with your eyeshadow application (if that’s your thing). If you aren’t into heavy eyeshadow go with a nude or khaki-colored eye shadow that’s beautifully neutral. STEP TWO: FIND THE PERFECT ANGLE Before you outline, you’ll want to set yourself up for success. In order to do so, we recommend reaching for a piece of tape and applying it to your lid as a guide. To do so, simply align the edge of the tape with the bottom corner of your lash line. Don’t forget to stick the tape to your skin on an upward angle of at least 45 degrees!STEP THREE: OUTLINE Once your tape is in place, it’s time to outline! Reach for your Smoky 2-In-1 Eyeliner and Brow Definer and start by drawing a line along the edge of the tape. Then, draw a line at your lash line. Don’t worry about shaping your wing just yet, we’ll get to that part in step six. Editor’s Note: As you can tell from the picture, this part can look a little sloppy. Don’t worry about perfection here, you’re using the tape as a guide and can touch everything up when you fill it in and design your wing.STEP FOUR: TOUCH-UP YOUR INNER & OUTER CORNERS & FILL IT INBefore filling in the outline, you’ll want to ensure that the inner and outer corners of your eyes are on point (pun intended). Go back over the lines that you created in step two—paying close attention to the inner and outer corners—and then gently remove the tape. Once your tape is removed and you should have a perfect-looking outline. Now, it’s time to color inside the lines. To do so, simply apply your eyeliner to the inside areas of your outline until you have one solid swoop. To avoid any smudging or imperfections, be extra careful around the edges of your outline. Editor’s Note: When it comes to applying perfect winged liner, some of our beauty editors like to keep the tape in tact to avoid any mistakes in step four. If you are new to the winged liner game, or find that you are a bit clumsy with application, give this a try.STEP FIVE: FIND YOUR SHAPE Now that the majority of your eyeliner is complete, it’s time to wing it—and no, we don’t mean improvise. Finding your wing, or shape can make the difference between the perfect-looking cat-eye and a look that leaves your eyes looking tired and droopy. So, how do you find your liner shape? To start you’ll want to take a look at your eye shape—do you have wide-set eyes, small eyes, or hooded eyes? How about almond-shaped eyes? Once you’ve sorted that out, you’ll want to apply your wing according to your eye shape. Luckily, our friends at Makeup.com have made this step super easy, with a fool-proof tutorial on how to apply winged liner for every eye shape. Made a mistake while perfecting your cat-eye? We share an easy hack for fixing a messy-looking cat-eye in our cotton swab beauty hacks, here.