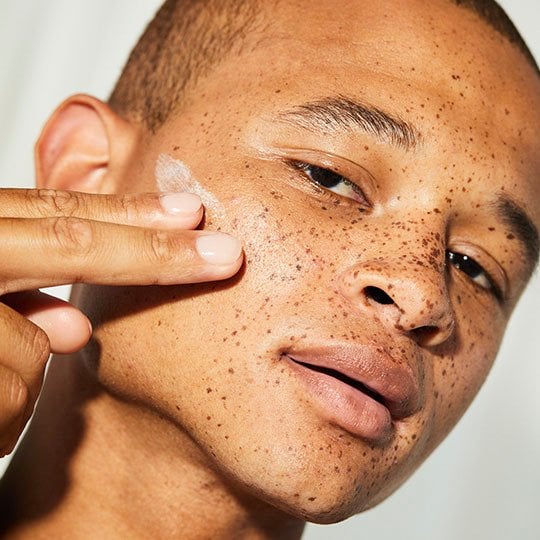
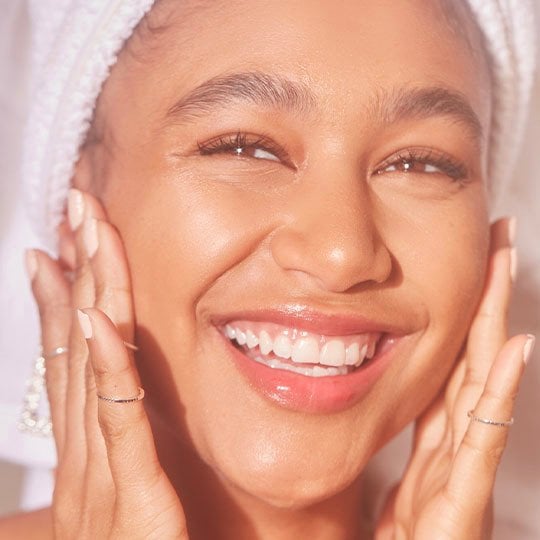
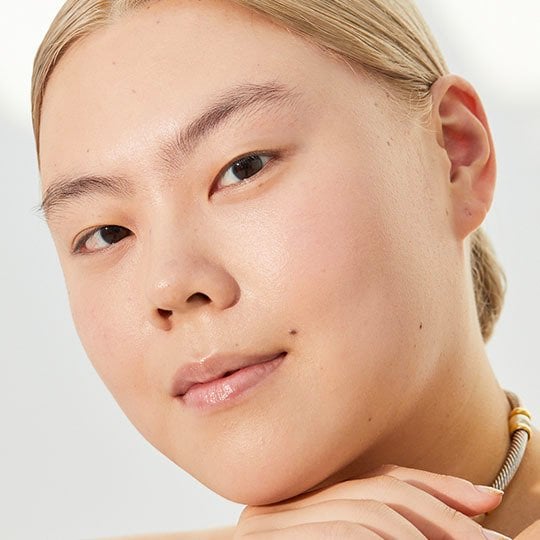
While some under-eye circles are caused by fatigue or dehydration, others are passed down from mom and dad and simply won’t budge no matter how much time you spend in snooze city. While eye creams formulated to brighten the appearance of dark circles are a great way to reduce the appearance when used regularly, the only way to make these suckers truly disappear is with cosmetics. Want to know how to hide dark circles like a pro makeup artist? Keep reading. Whether your dark circles are caused by too many late nights in a row—it is summer after all—or they are simply a facial feature you’ve learned to live with, this step-by-step guide can help cover them up without any visible evidence they ever existed in the first place. Step 1: Eye CreamWhile eye cream can’t make your dark circles vanish into thin air, using a brightening eye cream over time can seriously diminish their appearance. Before reaching for any concealers, use your ring finger to gently pat eye cream around the orbital bone of the eye. This technique helps to ensure you aren’t unnecessarily tugging on the delicate under-eye skin and helps to keep the product from migrating into your sensitive eyes. Another tip? Look for eye creams formulated with SPF. UV rays can make dark circles look significantly darker, so filtering out the sun damage with a broad-spectrum SPF is key. Lancôme’s Bienfait Multi-Vital Eye is formulated with SPF 30 and caffeine to help protect the eye area from sun damage and visibly reduce the appearance of puffiness, dark circles, and dehydration lines around the eye area. Step 2: Color CorrectEver see a beauty vlogger using a red lipstick under her eye area before concealer? This, my friends, is color correction. A nod to our grammar school art class, color correction is built on the premise that colors opposite each other on the color wheel neutralize one another. In the case of dark circles, you use red to diffuse the blue. Thankfully you don’t have to sacrifice your favorite red lippie for the cause. Reach for a color correcting cream—they are the easiest to blend and layer over—like Urban Decay’s Naked Skin Color Correcting Fluid in Peach—if you have an olive to dark skin tone—or in Pink—if you have a fair skin tone. Draw upside-down triangles under each eye and pat to blend with a damp sponge blender.Step 3: ConcealThe next step is your actual hiding step, concealer. Again, pick a creamy formula and use that same upside-down triangle technique. This brightens not only the under-eye area, but also the skin around it, allowing you to truly highlight and illuminate the appearance of skin under your eyes. We love Dermablend’s Quick-Fix Concealer—available in 10 velvety shades that blend seamlessly with your skin for a flawless finish! For dark circles, pick a concealer that is at least one shade lighter than your skin tone to help make this area pop.Step 4: FoundationNext up, apply your foundation, lightly tapping over the under eye area to ensure everything looks natural and there are no obvious lines of demarcation between products. For our base we turn to L’Oréal Paris’ True Match Lumi Cushion Foundation. This liquid foundation comes in 12 shades and offers a fresh finish and the ability to build on your coverage!Step 5: Set it!The final step in any concealing makeup application is the setting step. Before you continue with your bronzer, blush, and mascara, quickly spray your face with NYX Professional Makeup Makeup Setting Spray in Matte Finish to keep your freshly erased dark circles hidden from morning to night!Note: If you still see shadows, use a little extra concealer in the corner of your eyes after your foundation application.