


Ask the Expert
Do you really need to use an eye cream? What is a chemical peel...exactly? We ask our consulting dermatologists to answer common—and not-so-common—skin care questions, here!Latest Articles


Recommended Articles
-
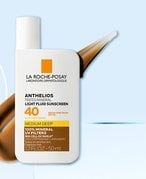
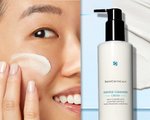
![Moisturizers with sunscreen]() Ask the ExpertSunscreen Before Or After Moisturizer: Which Comes First?6/20/2025
Ask the ExpertSunscreen Before Or After Moisturizer: Which Comes First?6/20/2025 -
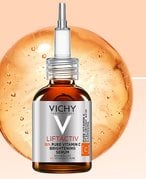
![]() Ask the ExpertWhat Does Vitamin C Do For Your Skin & How Do You Use It?5/22/2025
Ask the ExpertWhat Does Vitamin C Do For Your Skin & How Do You Use It?5/22/2025 -
![Woman in face mask]() Ask the Expert9 Types of Facials: Benefits and What To Expect5/5/2025
Ask the Expert9 Types of Facials: Benefits and What To Expect5/5/2025 -
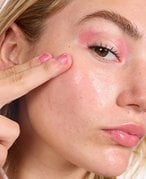
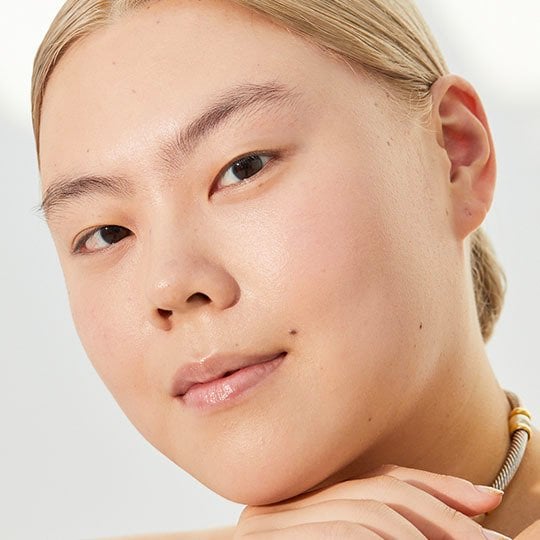
![photo of person touching their face]() Ask the ExpertHydrating vs. Moisturizing: What’s The Difference?3/24/2025
Ask the ExpertHydrating vs. Moisturizing: What’s The Difference?3/24/2025 -
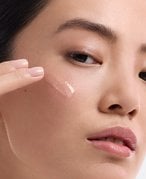
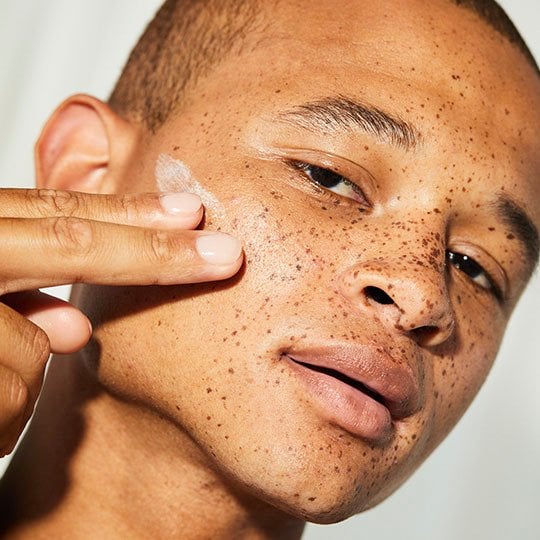
![A person applying retinol to face]() Ask the ExpertHow To Combine Vitamin C, Retinol, and Hyaluronic Acid1/12/2025
Ask the ExpertHow To Combine Vitamin C, Retinol, and Hyaluronic Acid1/12/2025 -
![4 women with different skin tone complexions]() Ask the ExpertHow To Determine Your Skin Tone and Undertone12/4/2024
Ask the ExpertHow To Determine Your Skin Tone and Undertone12/4/2024